Acrylic Nail Designs Perfect for Valentine's Day
Ready to flaunt fabulous nails this Valentine's Day? Forget the same old red hearts! This year, we're embracing fun, flirty designs that perfectly capture the romantic spirit. From shimmering glitter to gorgeous gradients, we've got the perfect inspiration for your Valentine's Day manicure. Whether you're a nail art pro or a complete beginner, these designs—along with easy-to-follow instructions—will have you ready to fall in love with your nails!
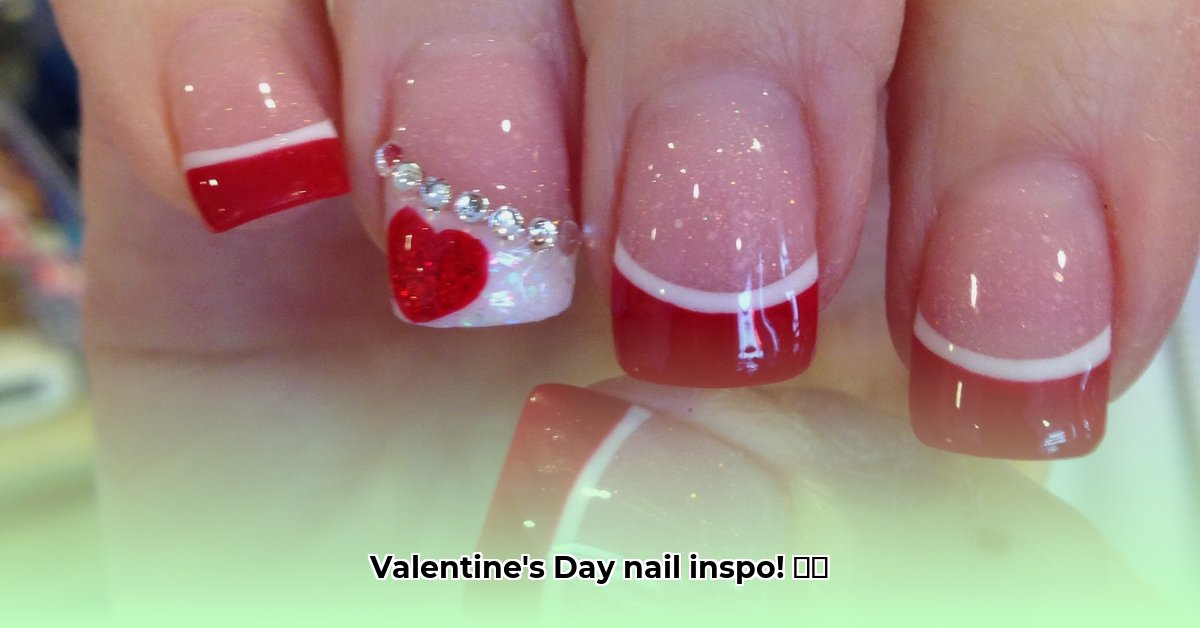
1. Classic Romance: Red and Pink Perfection, Reimagined
Red and pink are Valentine's Day staples, but let's give them a modern makeover. Instead of plain colors, envision a dreamy ombre effect, smoothly transitioning from a soft blush pink at the base to a vibrant crimson at the tips. Alternatively, a luxurious burgundy base elegantly accented with tiny pink hearts adds a touch of vintage charm. For extra sparkle, add subtle glitter to one or two nails.
Instructions (Ombre):
- Apply a base coat for protection and better color adhesion.
- Using a makeup sponge, gently dab on two shades of pink and red, blending them together for a seamless ombre effect.
- Finish with a top coat for a glossy, long-lasting shine.
2. Modern Minimalism: Subtlety with a Touch of Sophistication
Prefer understated elegance? A nude or creamy milky base provides the perfect canvas for delicate details. Add a single accent nail (ring finger, perhaps) featuring a tiny, perfectly formed heart or a sweet "X" and "O" design. This minimalist approach lets the beauty of the manicure truly shine.
Instructions (Accent Nail):
- Apply a nude base coat that complements your skin tone.
- Use a fine detail brush to paint a small heart (or "X" and "O") onto your accent nail.
- Seal with a top coat for a flawless finish.
3. Geometric Hearts: A Fun, Modern Take
Geometric hearts offer a fresh, modern twist on traditional Valentine's Day nail art. Think clean lines, sharp angles, and abstract hearts in shades of red, pink, or metallics like gold or rose gold. Negative space (leaving some of your nail's natural color showing) adds a striking visual effect.
Instructions (Geometric Heart):
- Apply a contrasting base coat.
- Use striping tape to create the geometric heart shape(s).
- Fill in the shapes with a contrasting color using a thin brush.
- Remove the tape once dry.
- Apply a top coat.
4. Glitter & Glam: Dazzle and Shine
Make a statement with a full-coverage glitter manicure in rosy pink or shimmering red. Alternatively, add glitter accents to a solid color base—perhaps a classic French manicure with sparkling glitter tips.
5. Floral Fantasy: Delicate Blooms for a Romantic Look
For a softer, romantic feel, incorporate delicate floral designs. Roses, peonies, or other romantic blooms create a charming manicure. Pastel shades offer a whimsical touch, while bolder hues add drama.
6. Beyond Hearts: Unique Valentine's Day Inspiration
Don't limit yourself to hearts! Adorable bows, playful polka dots, or abstract swirls reminiscent of 70s fashion can all make a unique Valentine's Day statement. Let your personality shine through!
How to Create Personalized Valentine's Day Nail Art Designs
Want to create your own stunning Valentine's Day nail art? Follow these simple steps:
- Prep Your Nails: Clean and gently buff your nails for a smooth surface. Apply a base coat.
- Apply Color: Apply your chosen base color in two coats for optimal coverage.
- Create Your Design: Use nail art tools and polishes to carefully execute your design. Take your time—precision is key.
- Seal It In: Apply a top coat to protect your design and enhance shine.
- Optional Extras: Add glitter, rhinestones, or other embellishments for extra flair.
Remember, practice makes perfect! Don't be afraid to experiment and create a Valentine's Day nail design that's uniquely you. Happy painting!